How I built webdesignrepo in 17 days with JAMstack
2020-08-12@mildrenbenwebdesignrepo – New dev & design links every day. Plus a collection of helpful links.
Here's how I built it in 17 days. (Whilst staying inside as many free tiers as possible)
Deciding the stack
webdesignrepo consists of two things:
- A large repository of top notch links, to serve as a reference point for designers and developers, almost like a big list of bookmarks.
- A daily links section, where new interesting articles, research, projects, tidbits are posted. New additions to the repository get posted here also, with a little star showing they're special and they've been "saved" to the repository.
So, all I needed was a system where I could add these links (and tags, icons etc) and the site would build each day. Seemed a no brainer to run JAMstack over a bulky database.
The stack I settled on:
- Gatsby (React based static site generator)
- Sanity (Amazing headless CMS)
- Netlify (Hosting and build pipeline)
That's for the website, but I also used Azure Functions, Sendy (emails) and a raspberry pi, I'll get to those bits later.
Day 1 - Setting up the project
I created two github repositories, one for Gatsby the frontend and one for Sanity the CMS.
Sanity is so fast to set up a quick schema with, I added a basic "Daily link" document type and added a new document into my CMS.
Gatsby is also quick to get up and running, although you do need to remove a fair few boilerplate files that aren't needed.
I used the gatsby-source-sanity plugin to start pulling in data from the CMS at build time.
Sanity and Gatsby have both written articles on how to use the combo together, you can see them here: Gatsby's guide and Sanity's guide.
I was already pulling in data from the CMS! Here's what I had end of day 1:

Day 2 - Organizing by days
Each day there are 3-5 daily links posted. I needed links to be ordered by day so that we could show "Monday – x, y, z" then "Tuesday - a, b, c" etc. So the schema for these daily links now looked as below:
export default {
  title: 'New link',
  name: 'newLink',
  type: 'document',
  fields: [
    {
      title: 'Label',
      name: 'label',
      type: 'string',
      validation: (Rule) => Rule.required(),
    },
    {
      title: 'Link',
      name: 'link',
      type: 'string',
      validation: (Rule) => Rule.required(),
    },
    {
      title: 'Post date',
      name: 'postDate',
      type: 'date',
      validation: (Rule) => Rule.required(),
    },
    {
      title: 'Added to vault',
      name: 'addedToVault',
      type: 'boolean',
    },
  ],
}
The addedToVault is whether the link was also added to the repo. Vault was a dumb word I used at the start and never bothered to change. I use the word vault interchangeably with repo links going forward. I regret this and should've changed to repo early.
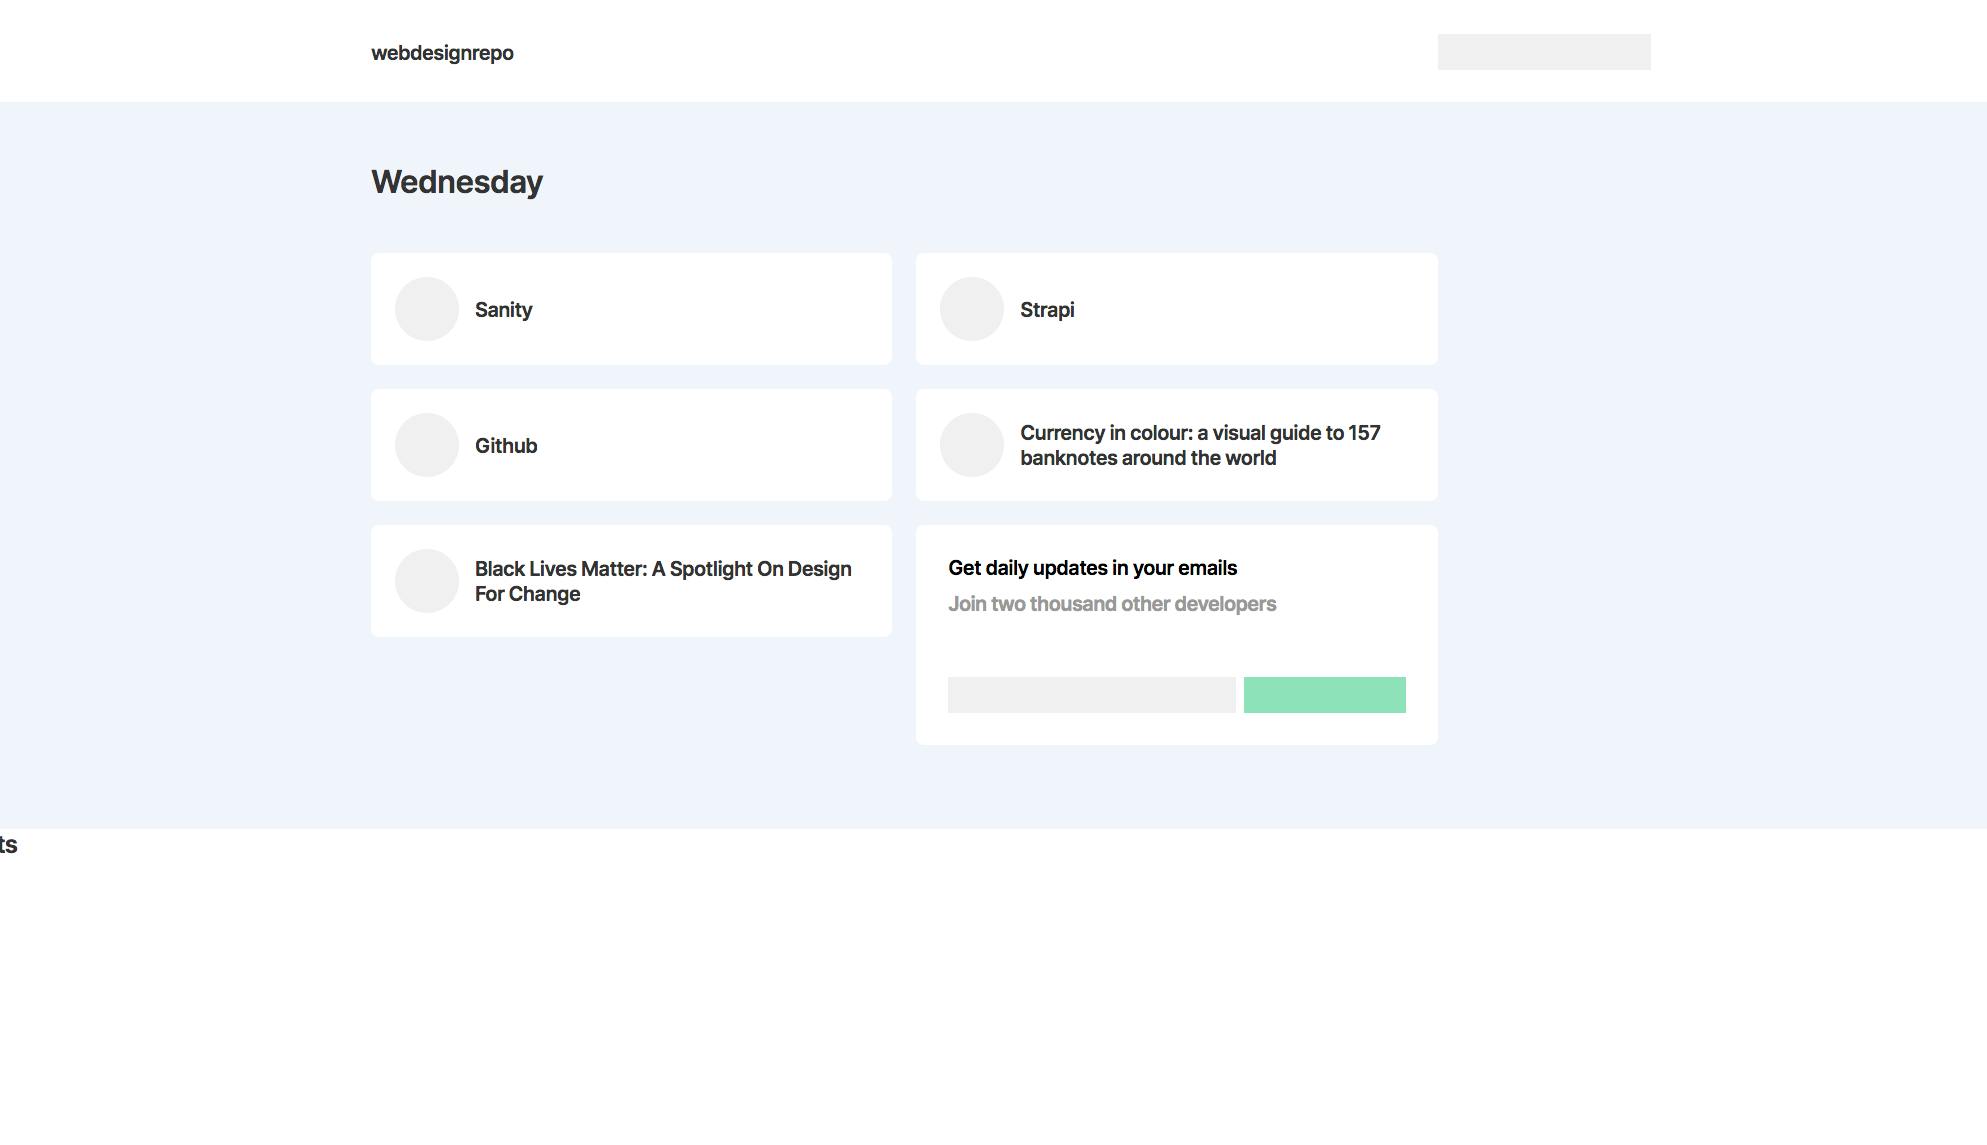
For those who haven't seen Sanity, here's what that schema translates to:

Here's how it looked organized by day:

I continued to add a basic scaffold for what the repository of links might look like. Again, I set up a basic schema for these repository links and pulled the data into Gatsby.
Sanity encourages you to split your data logically, rather than based on what appears near other things visually. It's interesting once you get into this mindset but it did take me a moment.
For example, I have separate document types for Categories, Subcategories, and Vault Links. So you go to the CMS, add a new Category like Plugins. You then add a new Subcategory like Animation, which is linked to the Plugins parent category. You then add a vault link, which is linked to the Animation subcategory. It allows for any part of the chain to be renamed, replaced or changed without interfering with the rest.
I added a few dummy vault links in and I began pulling the data into the frontend. I also added a search bar but it didn't do anything.

Continuing into the evening, I cleaned up the design a little and moved it towards how I wanted it to look:

Day 3 - CSS and removing future posts
I added even more CSS:
When adding daily links, I might schedule them to be a day or two in the future. So I needed a way to remove these future posts and only show links from "today" and in the past. This seems like a very simple concept, but I actually ran into a few issues with Gatsby on this front.
The issue comes from Gatsby only allowing static queries in components. So querying data based on the date was out of the window inside components. I needed my graphql query to look like this (with SERVER_DATE being something like 2020-12-25):
query loadNewLinksQuery {
      allSanityNewLink(
        sort: { fields: [postDate], order: DESC }
        filter: { postDate: { lte: "${SERVER_DATE}" } }
      )
Pages in Gatsby work slightly differently, and aren't static in the same way. But you can't use template literals in page queries either 😞 You can pass through query variables via page context, but that felt a little pointless, so I ended up making basically all my API calls (to Sanity) in `gatsby-node.js`.
Although annoying to not be calling the data inside components, I did end up doing a fair amount of logic inside `gatsby-node.js` after calling the data and passing it to the page components, so it did start to make more sense as I went along. That said, I'd love to see Gatsby allow template literal queries or query variables in components.
I ordered all the links by date in gatsby-node.
Day 4 - Animating days and archive pages
With framer-motion (React animation library) imported, I set out to animate the transitions between days. This actually took a lot longer than expected, as is often the case with animation, it just takes a long time tweaking to make it feel perfect.
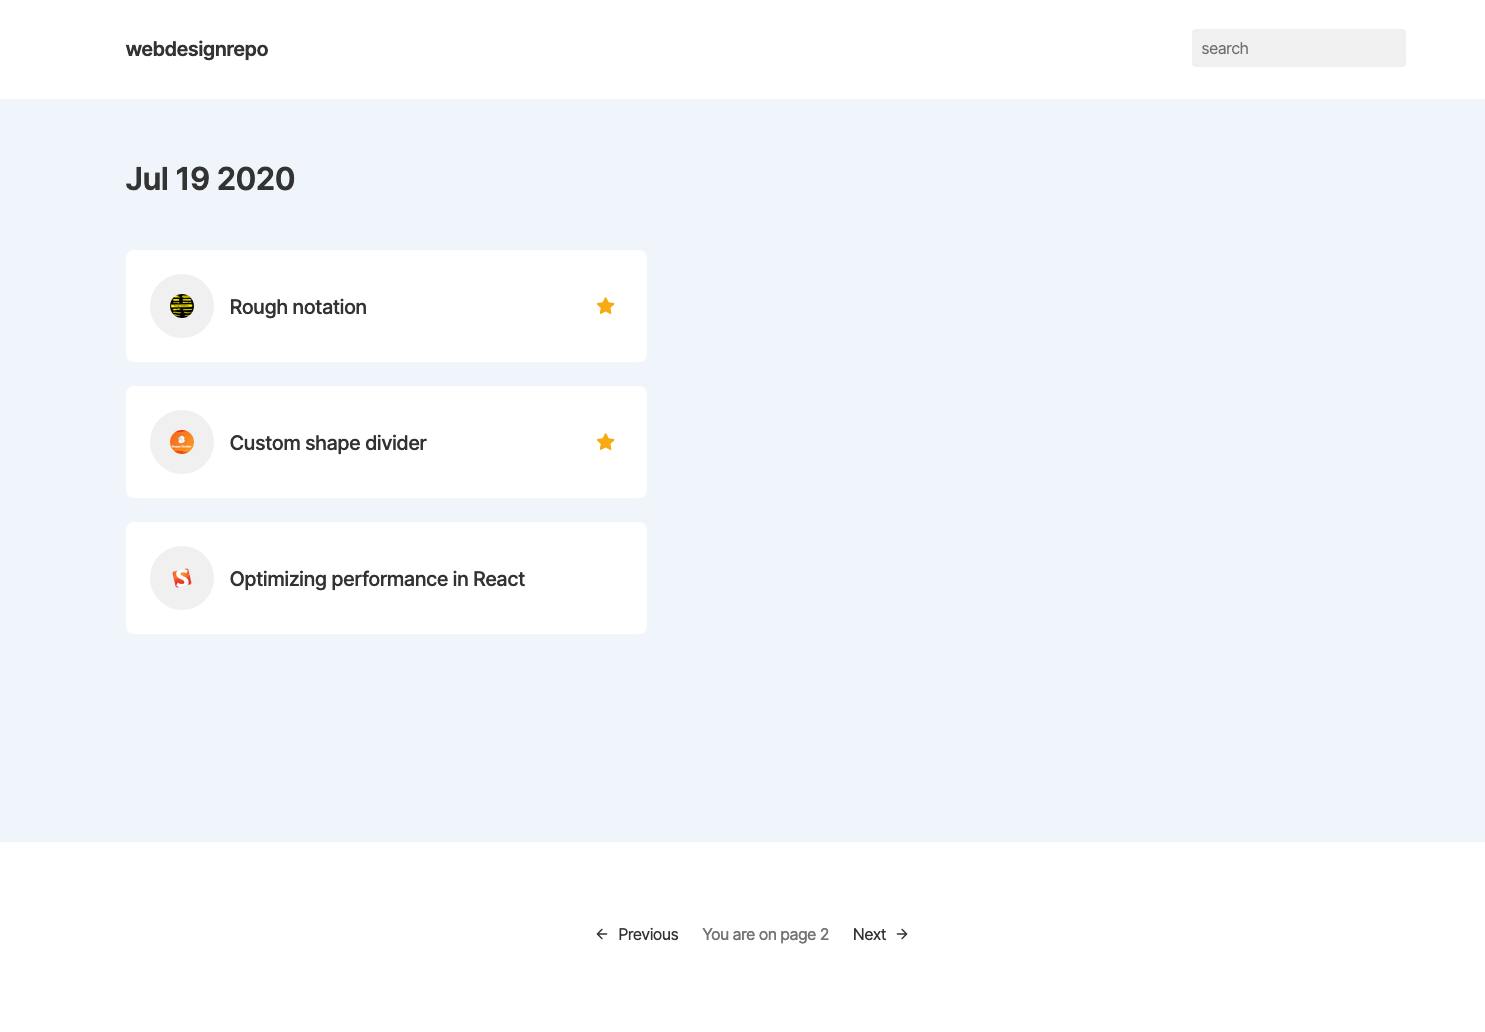
Later in the day, I added archive pages. These are pretty straight forward. I wanted to show 7 days on the homepage that the user could flick through, then after 7 days it'd take them to an archive page which showed 10-20 "daily" links on one page, and the user could keep going back in time if they wanted to.
Day 5 - Minor CSS
Day 5 was a pretty slow day and I took a quick stab at how the styling might look for the repo section. This was a job I was putting off and didn't want to do, because organizing a huge amount of data like this to be scanable and readable is quite a difficult design challenge.
Here's how it looked early on:
Day 6 - Search page
The search bar had sat at the top of the page for almost the entire time building this and had been totally useless. Today was it's day to shine!
A search function was something I knew not many users would use, but would be of massive help to that fraction of users that did. So I built it.
First off, I had to add tags to each link. I knew that just providing search through the labels/domains wouldn't be as helpful without the tags. So each repo link and each daily link now accept an array of references to tag documents (read: you can add a list of tags). In Sanity schema code it looks like this:
{
    title: 'Tags',
    name: 'tags',
    type: 'array',
    of: [
      {
        type: 'reference',
        to: [{ type: 'tag' }],
      },
    ],
    validation: (Rule) => Rule.required(),
},
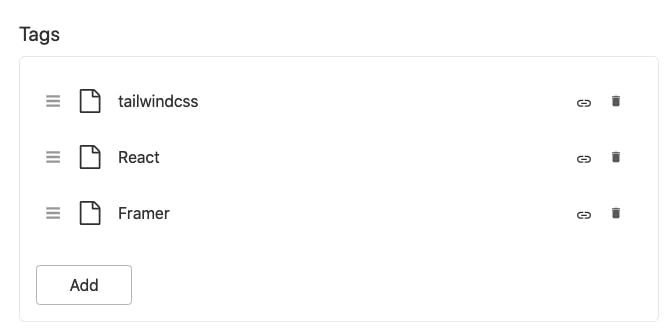
Each tag document only had one field: a label.
So I created a bunch of tags that I knew would be used a lot: 'Javascript', 'React', 'CSS' and figured I'd add the rest as I needed them.
With the tags set up, I went about creating what I can only describe as a very rudimentary search function. gatsby-node grabs every. single. link. along with each links tags and passes them all to the `/search` page. Then the search page checks the URL for params, and does a giant filter.
So, user is on the homepage. Types "react animation" into the search input and hits enter. They get moved to `/search?terms=react,animation`. The search page extracts those search terms, and then filters the giant list of links to the few that contain those terms in either the label, domain or tags of a link.
This is not a great solution. I'm totally aware and as the site grows larger this solution will get worse and worse. So within the next couple months I'm going to rebuild it in some fashion, but hey, it works for now.
As you can see below, I even added a "How search works" box to tell people just how crappy this search was.
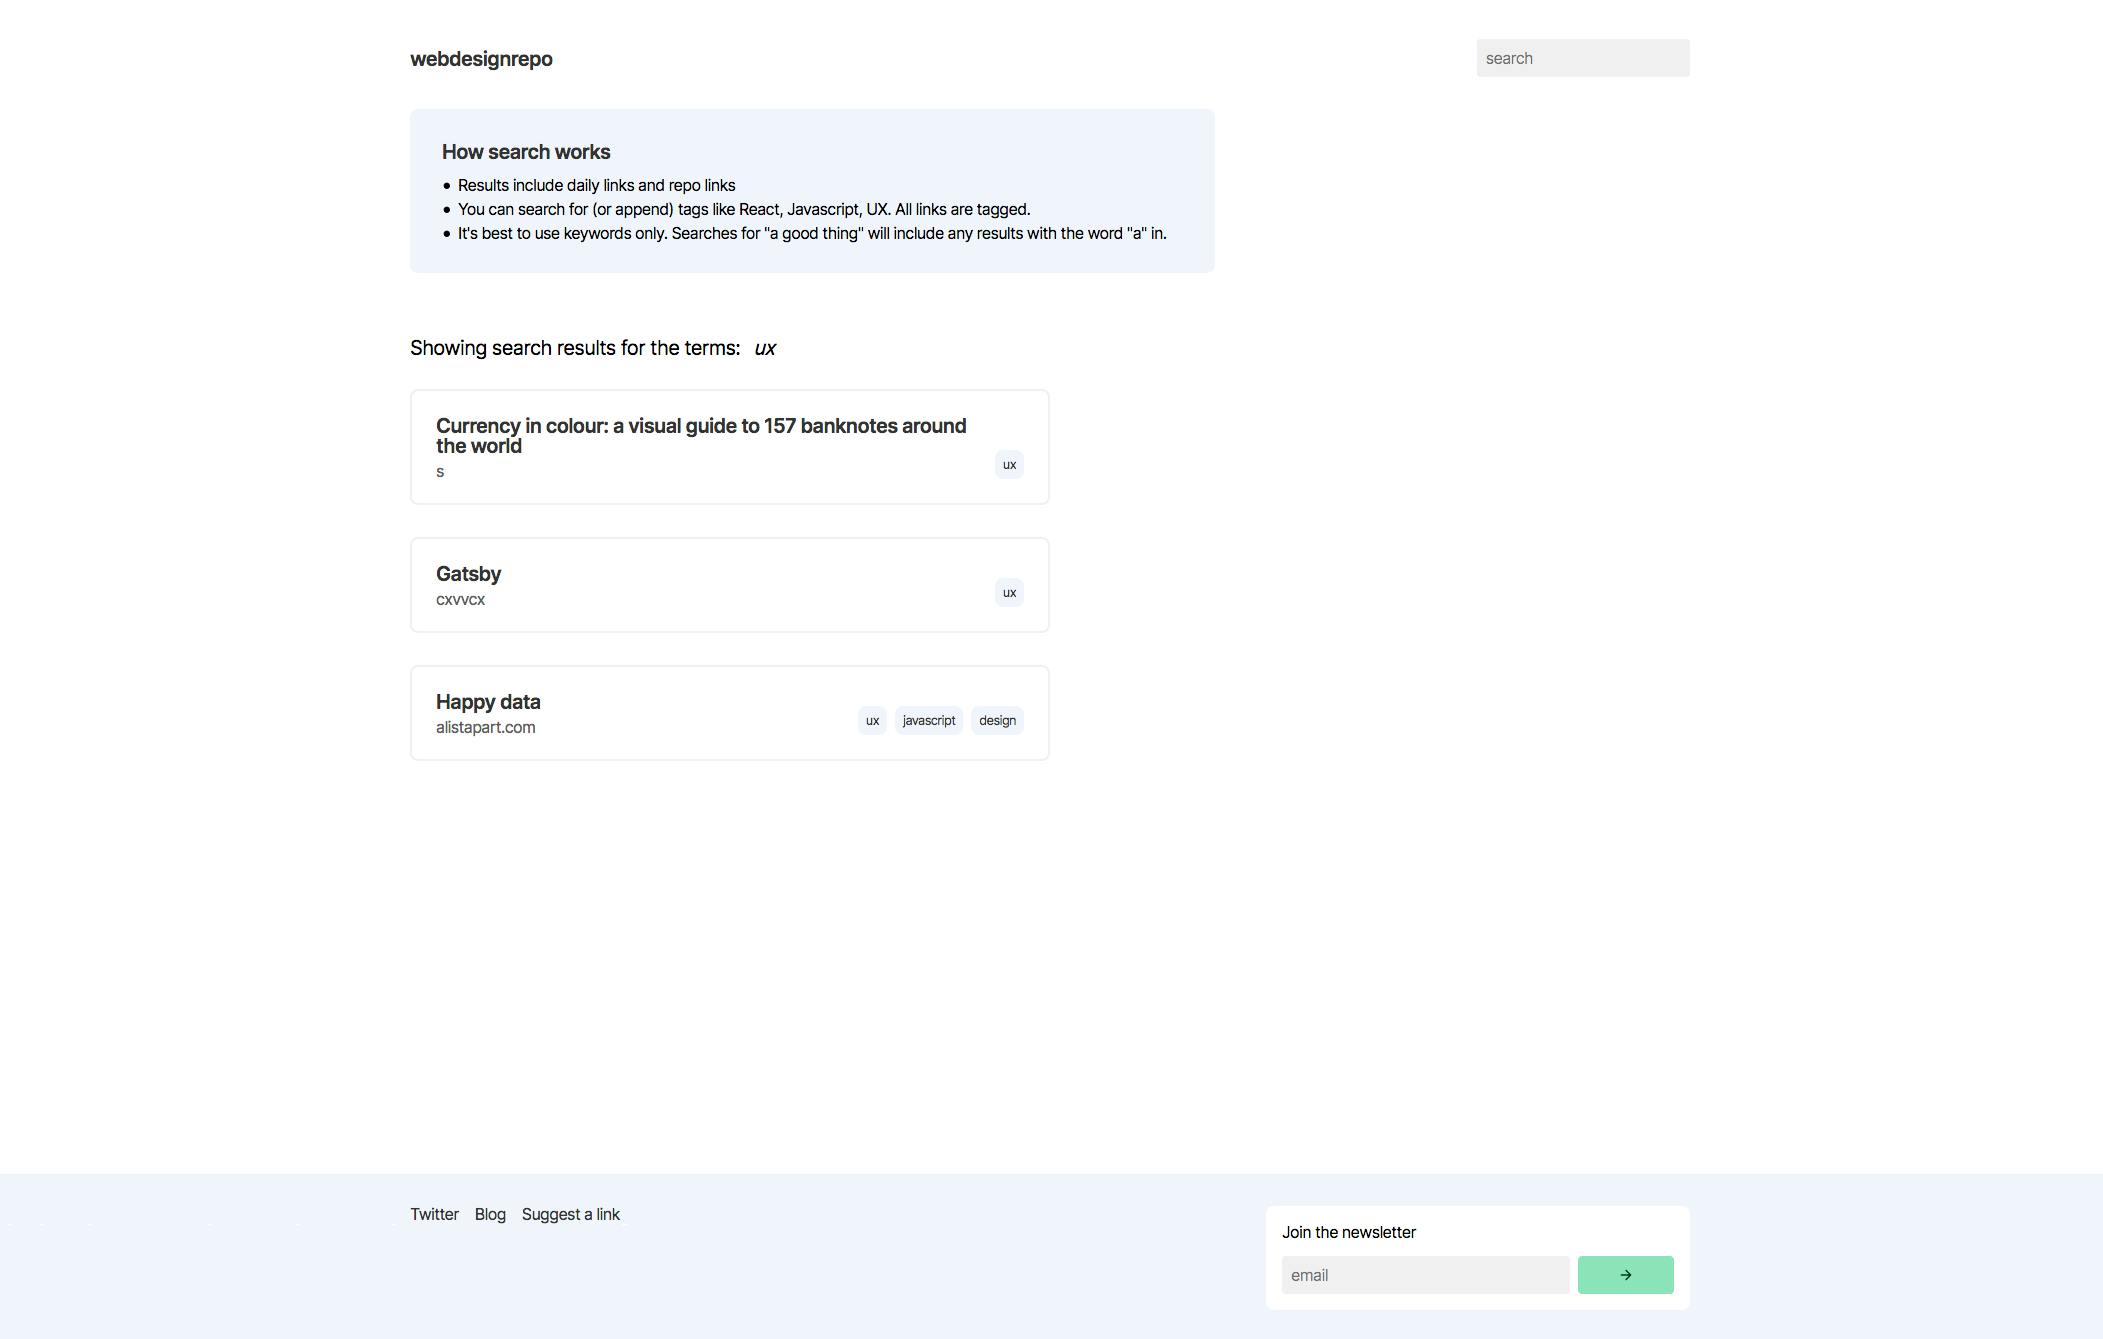
You might've also spotted a newsletter subscription box in the footer! I actually added that Day 5 and it shows up in a few places.
Day 7-11 - Replacing Mailchimp
Ahh Mailchimp. Mailchimp is a great tool – but it is very expensive. In an effort to keep this rebuild as free as possible, I decided to ditch Mailchimp as my newsletter sender of choice. I had amassed 2000 email subscribers from webdesignrepo's following before, and needed a cheaper way to send them all update emails. Introducing Sendy.
Sendy is a self hosted email solution. It's PHP based (which I'm not familiar with) and uses Amazon SES to send the emails. I went with Sendy as it's a one off cost of 59USD. That 59 bucks will pay itself back within a month or two and then I'll be sending emails basically for free.
Hosting Sendy seems very easy, and it probably is if you're a regular person who fires up a DigitalOcean droplet to run it on or any other server. But I had a Raspberry Pi Zero W sat in my drawer that I'd never used and figured I'd put it to the task. If I have one regret in this whole thing, it's this part.
I will spare all the details, but basically I ran into a ton of issues. This is not Sendy's fault, it was due to me running it on the Pi from my home network. I had never "connected a device to the internet" before, which is weird to say as a professional senior front end developer but it's just not something I'd done before. I've always used cloud servers.
Suffice to say, I learnt a whole lot during this process about connecting devices to the internet. A few things I figured out after lots of googling:
- You (kind of) need a static IP for your device. And domestic internet providers don't really offer that. Your home internet changes it's IP fairly often. So I set my Pi to be static internally, so other devices on the same network could always find it under the same IP. But it also needs an external static IP so I could point foo.com to 123.111.222.333 and be sure that the IP wouldn't change. I needed to either upgrade to enterprise level internet for a static IP (not going to happen) or to find another solution. Turns out there is another way! Many domain providers (or DNS) offer dynamic DNS. I'm with namecheap and all I had to do was set up an A+ record for my subdomain and point it to my network IP. So A+ record for foo.webdesignrepo.com pointed at 123.111.222.333. Namecheap has a URL that you can hit to update the IP of that A+ record. So, I set up a cron job on my Pi to ping that namecheap URL every 5 minutes, and if my networks IP has changed namecheap will update the A+ record. Awesome!
- Now I have foo.webdesignrepo.com pointed to my networks IP. What happens next? Again, I felt embarrassed for not knowing this, but hey it was a great learning exercise. Once you have your domain pointed at your network IP, you need to forward those requests onto the right internal IP. So I setup port forwarding on my router to move :80 traffic onto my raspberry pi (which has a static internal IP).
- I tested out the newsletter signup button locally and it worked! The new webdesignrepo was (secretly) hosted at v4.webdesignrepo.com, so I fired it up and tried to sign up to the newsletter and it failed. The signup box on the website just pings foo.webdesignrepo.com and says "Hey! ben@mildren.com wants to sign up". The problem stemmed from v4.webdesignrepo.com being served over HTTPS, and the Sendy installation being on HTTP (http://foo.webdesignrepo.com). So the browser blocked the request. Or the Sendy server blocked the request. One of the two, honestly I can't remember what blocked what but I remember it not working. So I needed foo.webdesignrepo.com to be served over HTTPS. I had used Let's Encrypt before so figured this would be easy to get the SSL certificate. Turns out the Pi Zero W has issues with it due to limited RAM. Bummer. After jumping through a million hoops to get the Pi to use Lets Encrypt correctly...it still failed when trying to sign up. This was my lowest point 😂 Honestly I was so close to switching to Mailchimp, at this point I'd spent 3 or 4 days on this thing and all of that time was spent trawling through forum posts trying to fix issue after issue. After what felt like an eternity, I stumbled across the answer and it was simple. HTTPS' default port is 443 🤦♂️ So I setup the port forwarding for 443 and what do you know everything worked.
At this point, I had everything working with Sendy on my Pi Zero W! It honestly took me days and I hated most of it but I learnt so much from this.
With the setup out of the way, I could start firing emails. So I started a new github repo called 'webdesignrepo-newsletter-sender' and this part was pretty straight forward. It's just a small node app that grabs today's links down from Sanity, then constructs some basic HTML for the email with those links in, and then it pings foo.webdesignrepo.com with the email HTML. Sendy then sends out the email. Easy.
I set this on cron job to complete every day.
So despite the tedious few days where I was close to crying, I had effectively set up a Mailchimp alternative for about 70USD total (Sendy is 59USD and the Pi was 9GBP I think).
Sending 2000 emails a day, 30 days a month, with Amazon SES works out to be 6USD, not bad.
Day 12-13 - Accessibility and mobile designs
I want webdesignrepo to be accessible to all, so I added all the relevant aria attributes where needed and started working on the focus order.
I spent a while thinking about how the focus order should work and settled on this:

I asked Twitter what the best way to handle focus order for these items would be and nobody replied.
A11y is important to me and I want to be as inclusive as possible, so if something doesn't look right, work right, or screenreaders aren't working as expected at webdesignrepo then please ping me on Twitter and let me know.
At this point the whole site was coming together but I had only been designing for desktop. So I got to work on the responsive side of things, constantly testing along the way to make sure everything felt right.
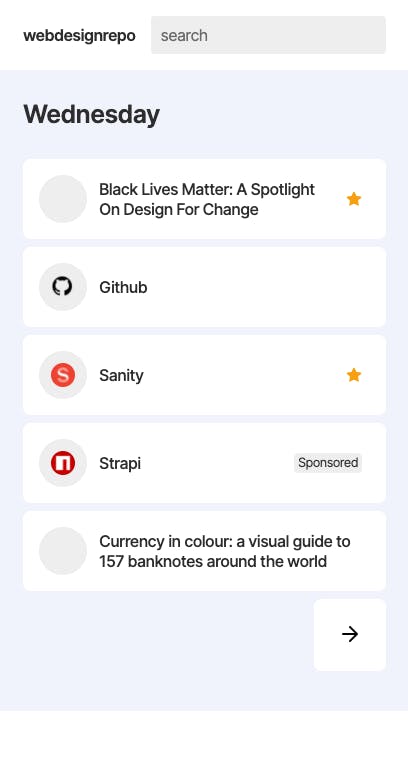
Day 14 - Images for each post
I wanted each daily link to have a little icon next to the link for the website, like a favicon/logo. Adding this sounds trivial but in practice was a little more involved.
Sanity has 500k limit per month on it's CDN for assets, which is actually super generous, but I wanted to stay within the free tier for as long as possible, and I might pass the 500k image requests sooner than you'd think.
Some math:
- There are 7 days displayed on the homepage of daily links
- Each of those days has 3-5 links, let's assume it's 5
- That's 5 * 7. 35 little logo images on the homepage alone
With every pageview, I'd use 35 CDN requests. If a user wanted to go further back in time, each archive page hold 10 days worth of links which is 50 more images.
Even assuming that nobody every visits an archive page (for 50 more requests), 500,000 / 35 is 14,285 pageviews.
So at 14k pageviews a month, I'd have to start paying for CDN access. Granted, Sanity's costs are real cheap at 1USD per every extra 100k requests (which is around 3k pageviews). And Sanity does deserve my money, I think they've made an amazing product and I'm happy to pay for it, but I really was thinking of this as an exercise in scaling for as low cost as possible (just for the fun of it).
As well as the costs, I'd have to upload a logo for every single link. Sure, some are re-used a lot, I post a lot of Github links, CSS-tricks etc. But I also post a ton of smaller blogs that I may only post once. I didn't want to upload an image for every single link.
Alternatively, I could have a bot go and grab the images for me. Favicons are unfortunately too small, as I wanted at least 64x64px. Twitter images and Facebook open graph images worked decently enough though, higher res and often of the website logo! But for the same reason as above, I didn't want to do this for every image as it would cost a lot of money, probably way more than just using Sanity's CDN.
I needed a balance of both.
What I actually went with is three different ways of getting the images. Here's how it works:
- I added Icon as a document type in Sanity, so I can upload images. I added a field onto the DailyLink schema to select these icons. For the most often used websites, I downloaded an image of their logo, resized to 64x64 and ran through TinyPNG, then uploaded to Sanity. In gatsby-node, (which runs during the gatsby build process) when I request all the daily links, I also request the icons. This means the icons are only requested once a day. Each icon is then base64'd and placed directly inside the code. Lightning fast for users, keeps me inside the free tier and only adds ~20kb to the page load. This only works for the sites I post the most, I currently only have around 20 icons saved.
- I built a serverless function and hosted it on Azure. I pass it a list of URLs and it returns a list of twitter and FB open graph images as URLs. Honestly, I could've used my Pi for this but it's slow at this kind of thing and I didn't want that to be a point of failure, my Pi has enough on it's plate. Azure's cloud functions also have a generous free tier. You get 400,000 GB-s, that's gigabyte seconds. I'll spare the math, but with my function taking around a second to run each time, that works out at around 3 million function invocations. Again, in gastby-node at build time, I call this cloud function with all the URLs on the homepage (excluding ones I already have images for from Sanity). I then add these image URLs into the code, and they're requested from the website in questions servers.
- For archive pages, for when a user goes back in time, these images are not supplied. When a page loads and finds links without a base64 image (from Sanity) or a URL src (from the links site), it calls the Azure function with a list of URLs and then fetches those images.
It's a little convoluted, a three step process for something quite trivial, but it does work and it is free.
To recap:
- I add popular images into the CMS. They're base64'd into the code
- Azure function is called for remaining missing images on homepage, twitter/open graph URLs used.
- For archive pages, nothing is embedded at build time and the Azure function is called by the client to fetch twitter/open graph images.
Was this worth it? 🤷♂️ It was fun to try to reduce costs as much as possible though
The only issue with this system, is some of these smaller blogs I post are hosted on servers without HTTPS. So webdesignrepo makes HTTP calls to assets and some browsers note this in the security padlock icon. That's something I'll have to think about.
Day 15-16 - Adding all the data
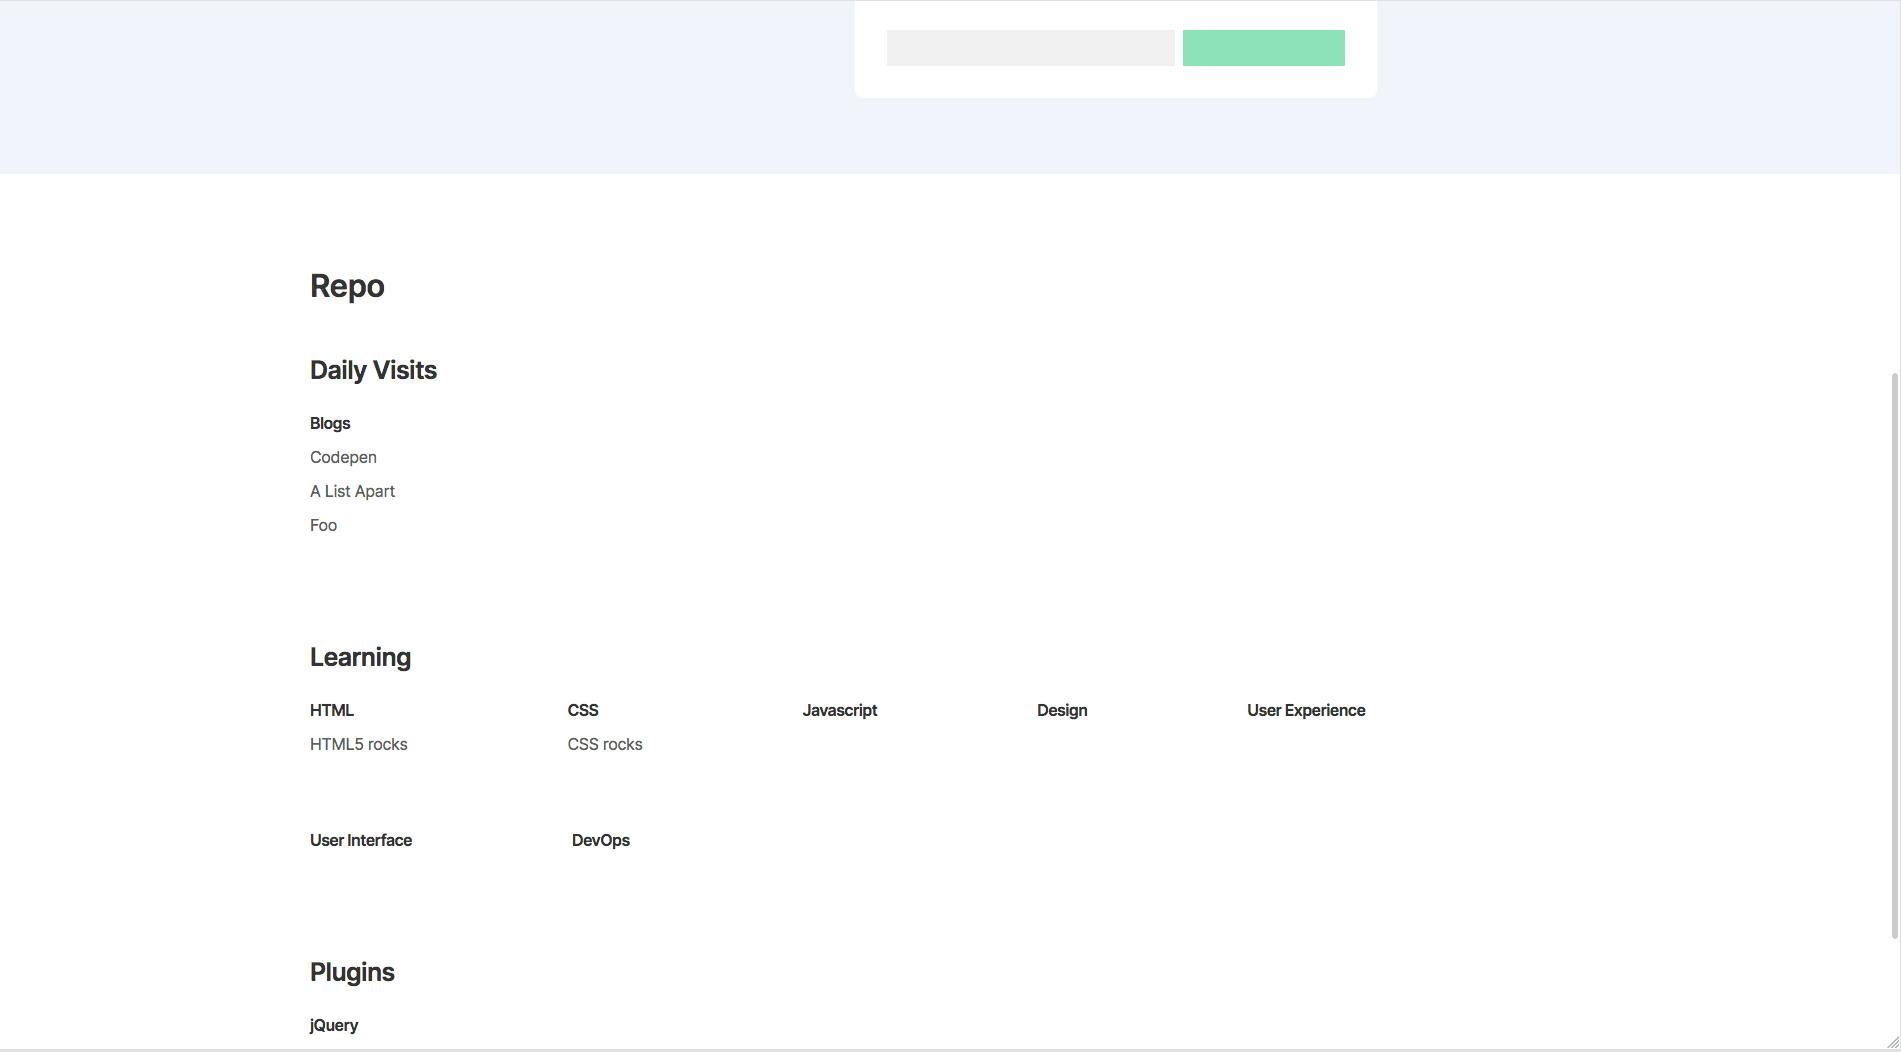
I tidied up the design for the repo section:
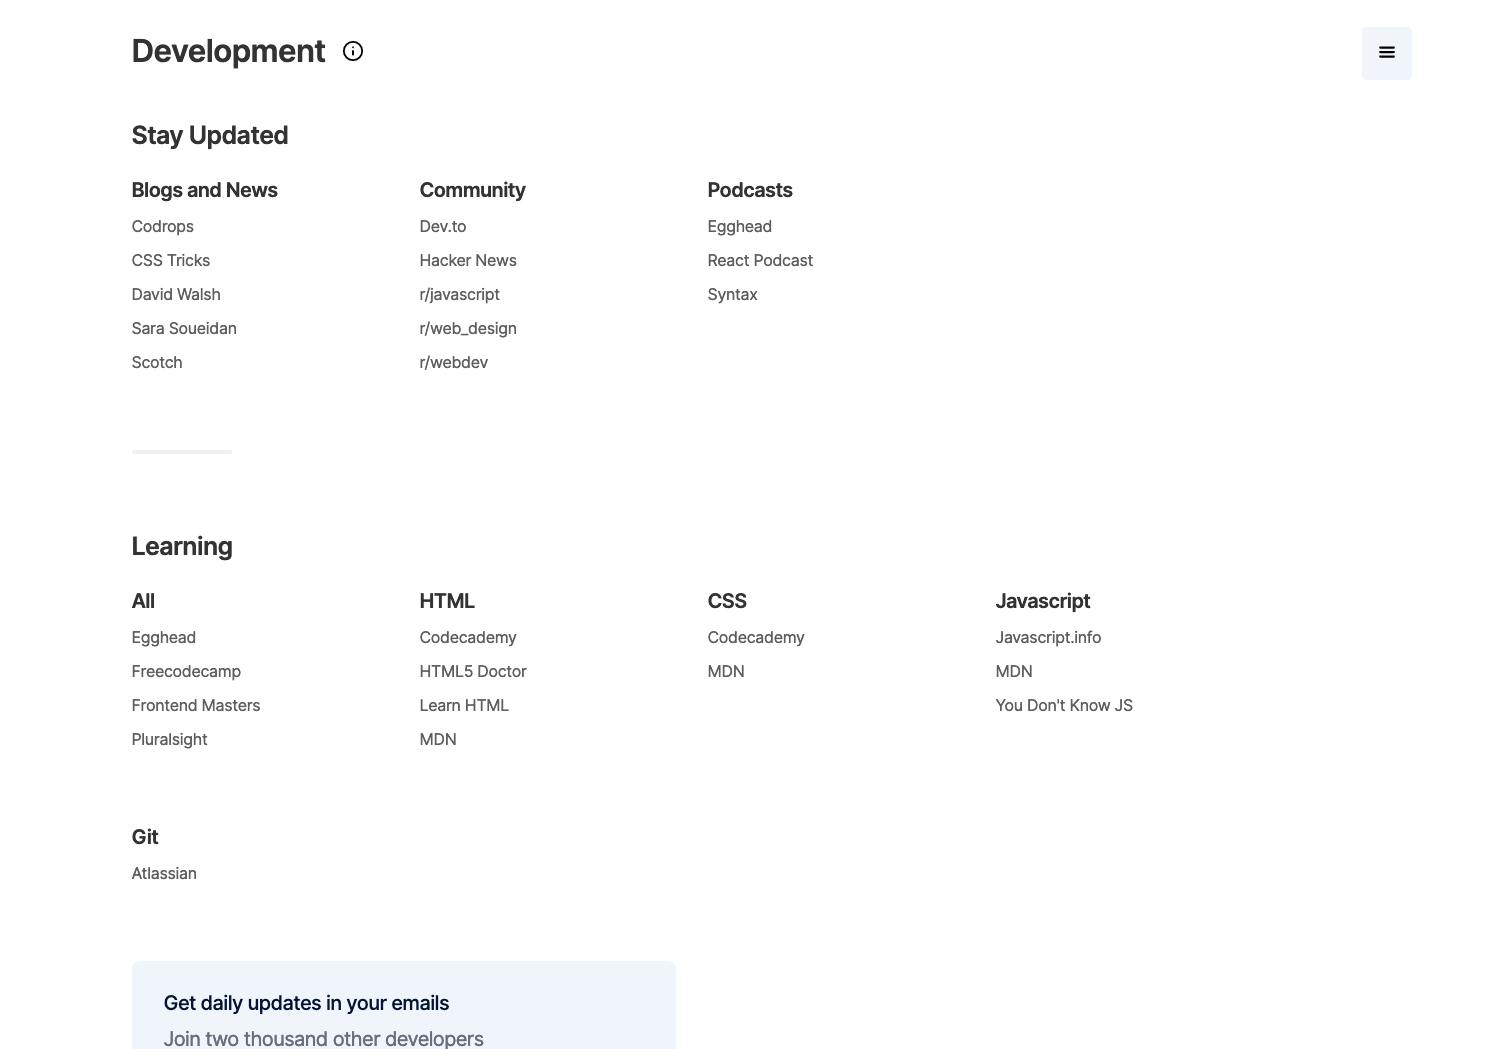
I added a menu button for quickly navigating the repo:
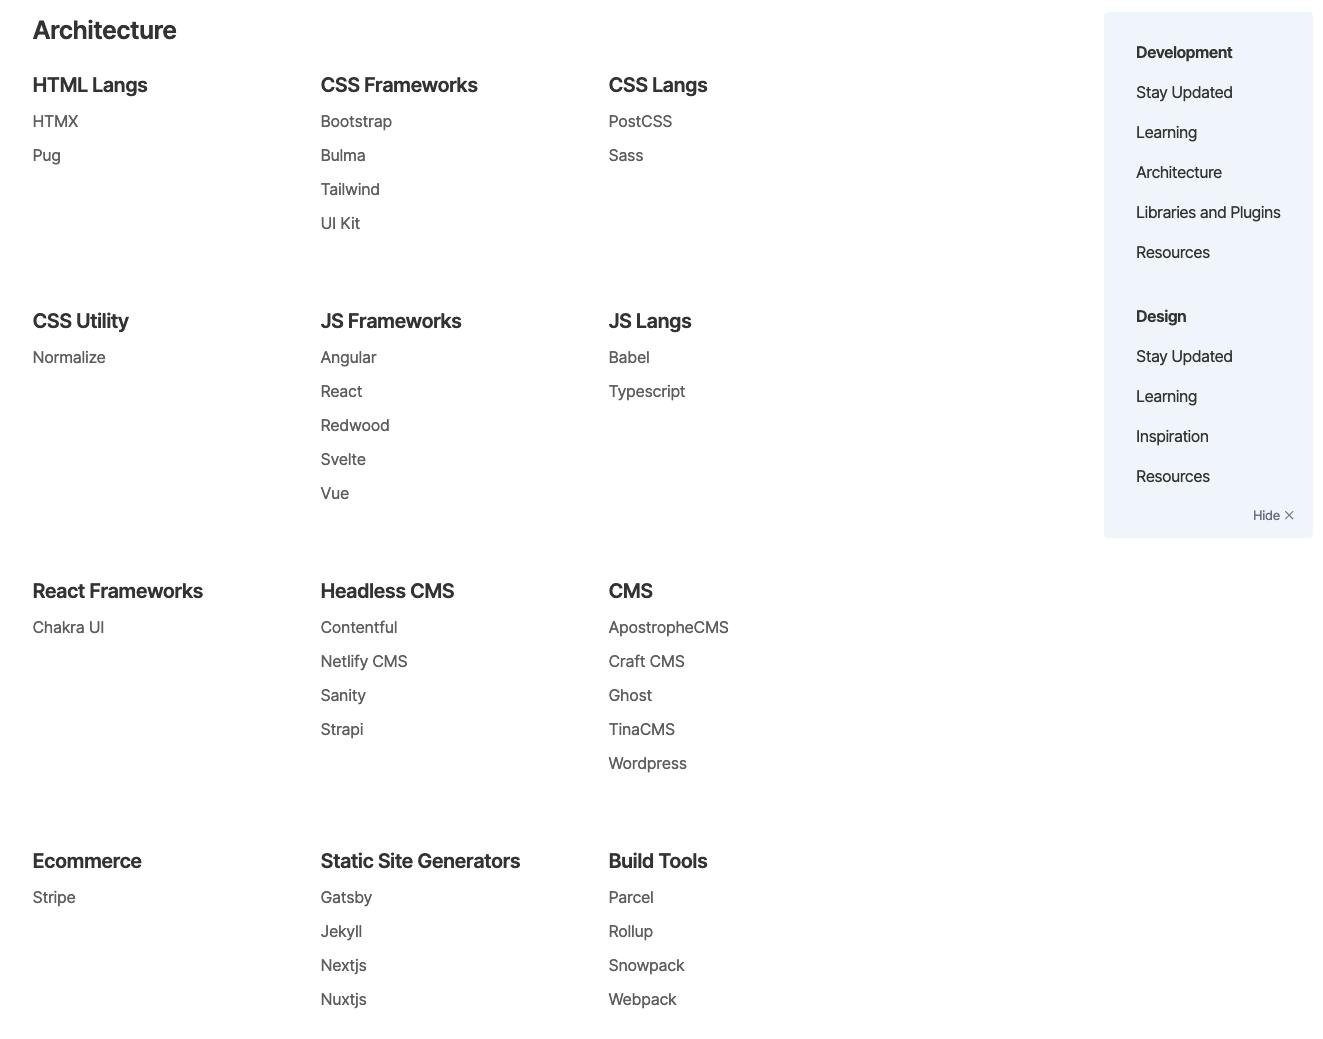
With the bulk of the site complete, I just had to add the data. I had hundreds of links in bookmarks for this, all organized by category and subcategory. I estimate adding them all to the CMS took 8-12 hours. Of course, it's taken me years to collect such a great set of links.
Sanity does have an API for adding stuff which could've made this quicker, but once I got into a rhythm it wasn't so bad. It was actually quite therapeutic after such chaos with the Sendy Pi setup to have a mindless task like this.
Day 17 - Cron jobs and Twitter bot
I have a Twitter account for webdesignrepo and wanted to post all new daily links there every day without having to do it myself.
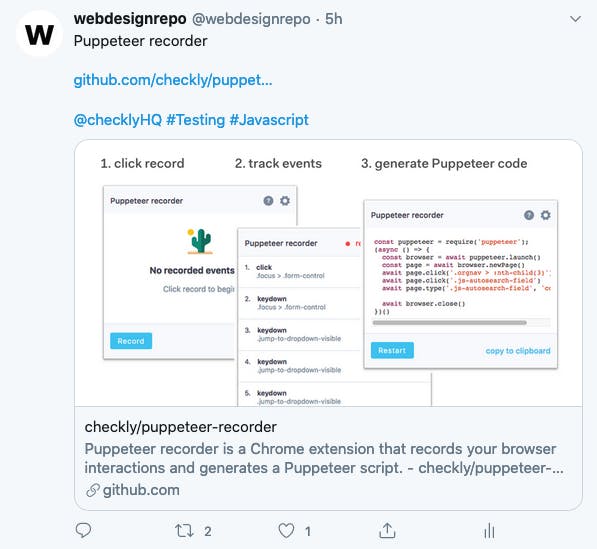
Using the Twit library, it's so simple to set up this kind of bot. I spun up a new repo, created one index file and it was done. It requests today's links and posts them spread across the day. I also added a twitter handle field on the daily link Sanity schema, so I add that in when adding new links and the Twitter bot tweets like this:
${link.label}

${link.url}

@${link.twitter_handle} #${link.tags}
This is simplified but at it's core that is all it does. The tags I add to each daily link (and repo link) for searchability are great for twitter which also uses hashtags. Again, cron job this bad boy and it's good to go.
Usually when you set up a headless CMS with a static site generator you'd have the site rebuild every time data is added to the CMS. I've done this before with Gatsby and Sanity, but it's actually not what I wanted or needed.
webdesignrepo only needs to rebuild once a day at 6am to show the new daily links. Netlify offers a really simple webhook for this, and when you ping the URL it rebuilds so I set up a cron job on the Pi to rebuild the site every day.
That's all folks
There were lots of smaller things not mentioned in this post like: adding the 'added to repo' icon, favicon/social media icons, meta/SEO stuff, adding sponsored tags, testing etc.
I'm currently within every free tier on Sanity, Azure and Netlify by quite a long way. Side note, Netlify's free tier offers 300 build minutes per month. The site takes around 2 minutes to build each day, which is around 60 build minutes used each month. It'll be interesting to see how this build time goes up in a year when potentially thousands more links have been added.
And that's it, that's how I built webdesignrepo in 17 days. In reality, this was spread across about 6-8 weeks as I have a full time job and there were also plenty of days where I'd only do 15-30 minutes work, but largely it was just 17 full days.
How it looks today:
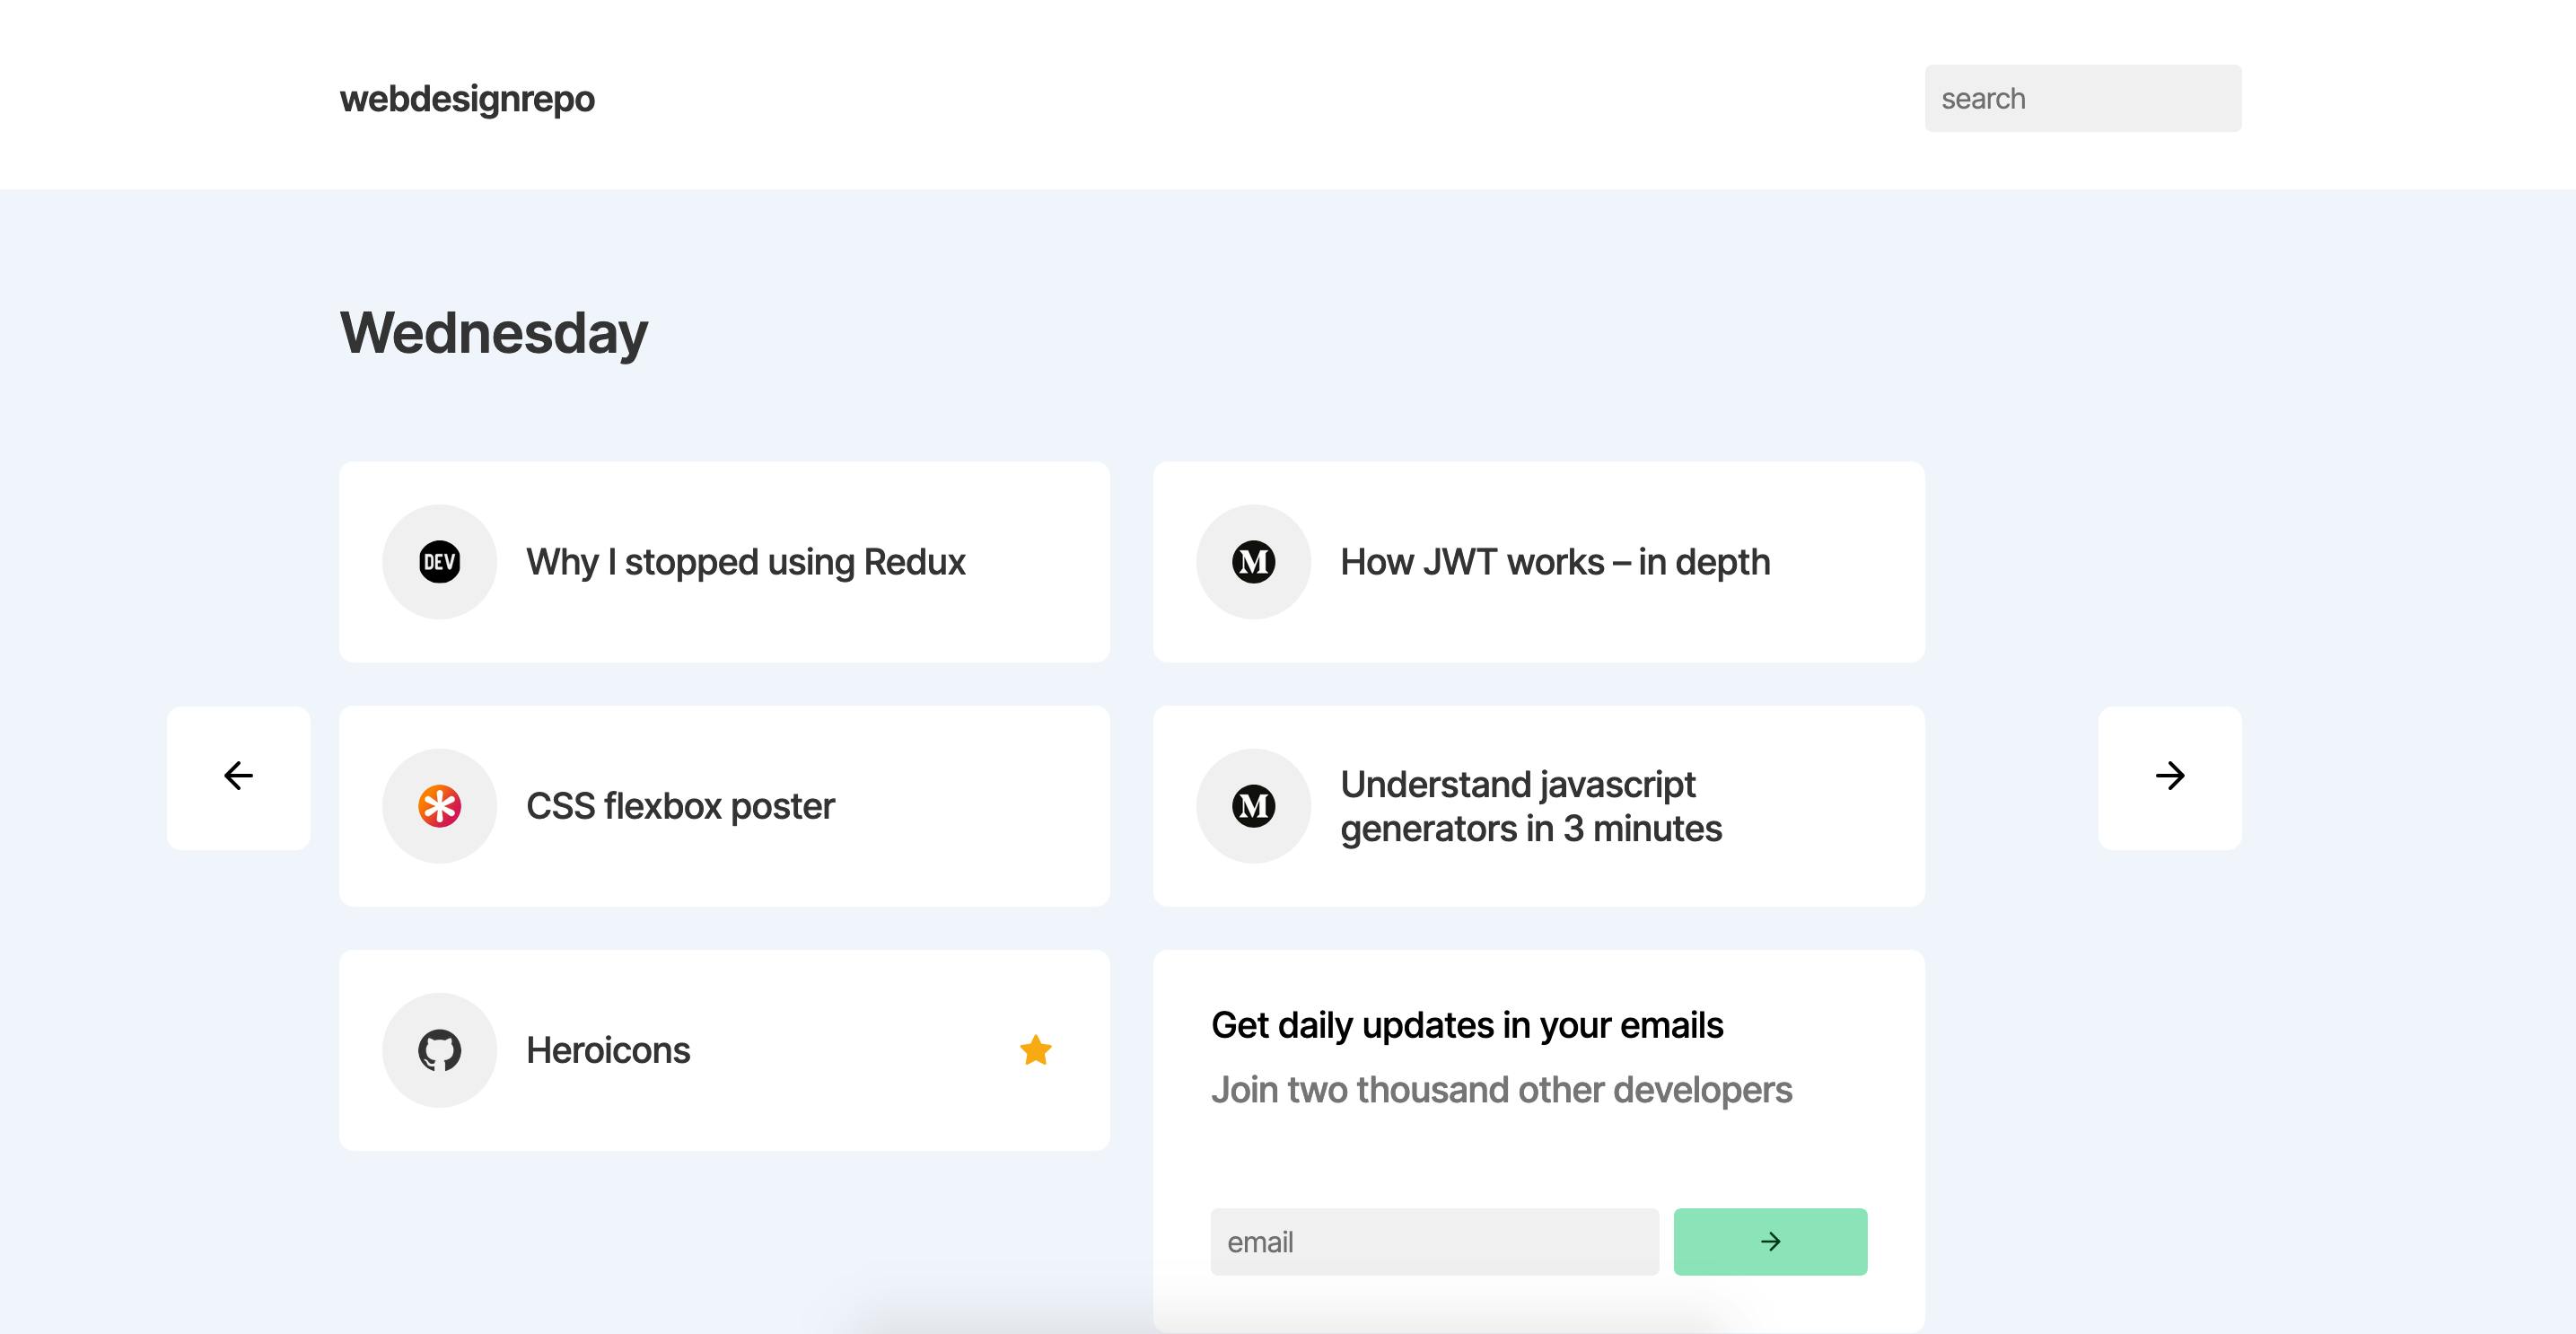
webdesignrepo - check it out for links on javascript, react, css, design and all things web dev!